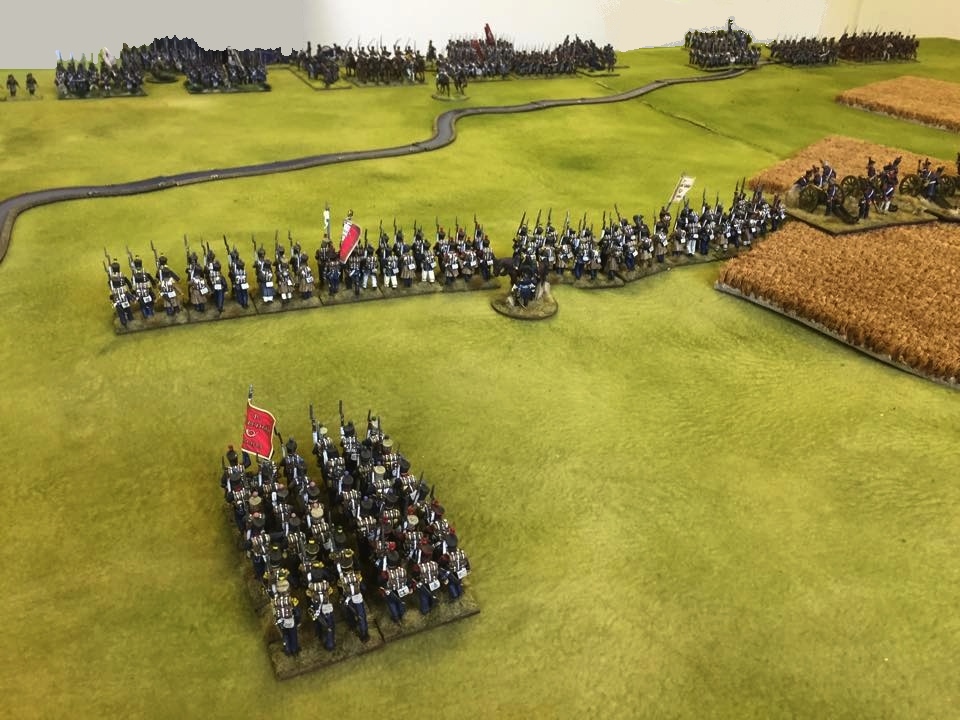
A Chain of Command Battle Report in 28mm
 |
| The German Fallschirmsjäger take aim as the Americans advance. |
Introduction
Long overdue we finally got the opportunity to try out the Chain of Command rule set from Too Fat Lardies in earnest. Rather than play a specific setting we simply pitched an US rifle platoon against a platoon of German Fallschirmsjäger, somewhere on the late war Western Front. We used the Attack and Defend scenario from the Chain of Command rulebook where the attacker get alot of support to make sure that we would be able to get some armour on the table, as we wanted to include the vechicle/armour rules.
If you are not familiar with the Chain of Command rule set you can find good instruction videos on Youtube from Too Fat Lardies. Also,
this blog post from Anatoli gives an excellent summary of the rules.
Opposing forces
The US were the attackers in this scenario and therefore had more support available. The regular US rifle platoon was supoorted by a 60mm mortar team and a 76mm Sherman tank.
The defending German fallschirmsjäger, also regulars, were supported by a sniper and also had an entrechment and a mine field.
 |
| US Rifle Platoon with 60mm Mortar and 76mm Sherman |
 |
| German Fallschirmsjäger Platoon with Sniper, Minefield and Entrenchment |
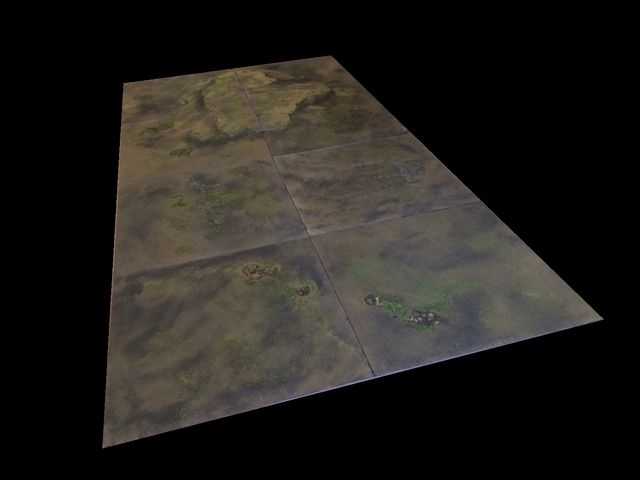
The table
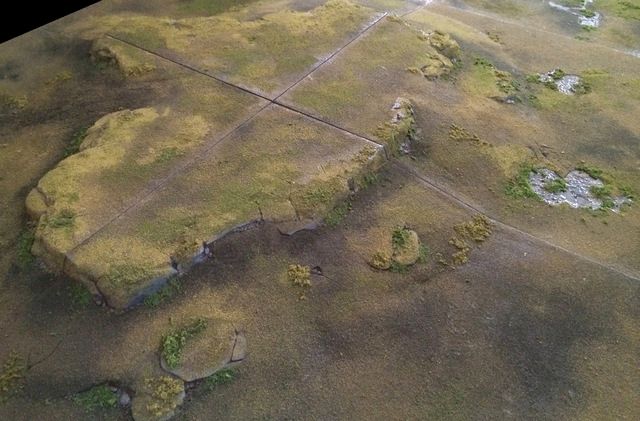
The game was played on a 6x4' table. As defenders the Germans had a slight advantage in the Patrol Phase, starting further onto the table, and got control of more terrain. The US did, however manage to get a forward jump off pont on their right flank. German jump off points are shown in red and US in blue. The Germans placed a 6x6" minefield covering the road in front of the two buildings.
 |
| A 6x4' table. |
 |
German jump off points in red, US jump off points in blue.
View from the German side, with the fallschirmsjäger's zeltbahn tents. |
The Game
As the Americans took their time to advance the Germans instead took the initiative early on and occupied the central orchard area with a squad with its two light machine guns. That move blocked the Americans central advance for quite some time as the orchard gave very limited visibility.
 |
| The Germans enter the central orchard. |
 |
| The US opposing central position. |
The American central position got worse as another FJ squad entered the large building. If the US troops entered the orchard they would take fire from from two directions and from very close range. Also, the route up the road on the other side of the main building was blocked by the minefield.
 |
| Germans in the main building covering the orchard |
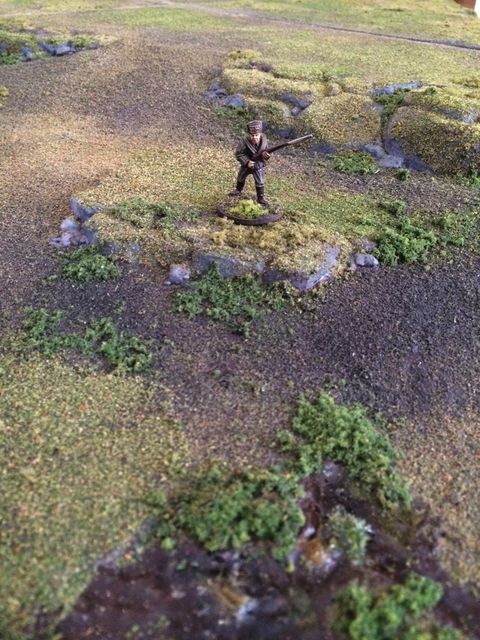
A US left flank move through the forrest was stopped in its tracks as a German sniper opened fire from the small house and an entrenched FJ squad appeared on the other side of the forrested high ground. The latter took quite a beating though as the 60mm mortar targeted them again and again until the team that didn't have a fully entreched position was wiped out. The sniper firing was enough though as the shock inflicted on the American squad severly restricted their movement and ability to fire.
 |
| The US riflemen advance but comes under sniper fire from the small house |
 |
| The sniper and entrenched FJ stop the US advance... |
 |
| ... but not all FJ had entrenchments to take cover in. |
The US Sherman 76mm tank arrived on the scene and its cannon kept the heads down on the entreched FJ but failed to do much else as its crew couldn't target the FJ in the orchard nor the sniper.
 |
| The Sherman 76mm arrives on the scene |
As the US finally committed their last squad on their forward, right, jump off point things got in motion. Using consequitive US phases they arrived on the flank of the FJ in the orchard and fired at close range, causing many casualties and a lot of shock. At the same time the central US squad rushed the distance to the orchard and added their rifles to the attack as well. The FJ holding the orchard were wiped out.
 |
Fire and manouver. The US squad appeared on the flank of the FJ
firing as the other US squad rushed the open ground to the orchard. | |
|
 |
| The US hold their fire as their friends reach the orchard. |
While the fire fight took place in the large orchard a German panzerschreck team - using a chain of command dice ambush - suddenly appeared in the garden next to the small house. From ambush it fired on the Sherman, its first shot shocking the crew and wounding the tank commander. The Germans stayed on target - having two phases in a row - and rapidly reloaded to fire another shot, knocking out the Sherman tank.
 |
Ambush! A Panzerschreck team appears
in the small garden behind the cart. |
 |
| Ka-boom! The Sherman explodes... |
 |
| ...and burst into flames. |
Following the destruction of the tank - and their opposing US squad pinned by the sniper - the FJ advanced a LMG team from the entrechment to behind the small house.
 |
| The FJ advance. |
 |
The US call for mortar support.
Note the luckiest guy on the table: the left most US soldier is within 2" of our
minefield marker i e in the 6x6" minefield! But we didn't notice... :-) |
 |
| The mortar fire yet again... |
 |
| ..disrupting the Germans. |
Somewhat of a lull in the fighting occured by the larger house as the FJ on overwatch in the building had a strong position overlooking the orchard and their back covered by the mine field. This changed as the US - again using two phases in a row - started a encircling move across the fields on their right, threatening the jump off points of the German base line.
 |
| The US flanking manouver. |
This forced the Germans out of their positions exposing them to US fire. Using a chain of command die the Germans moved a jump off point further away from the closing Americans. The damage was done however as the Germans had left cover and they were eventually overwhelmed by the more numerous Americans. The German Force Moral got dangerously low and the few German survivors decided to withdraw. The Americans had won.
 |
| As the Germans are forced to leave their positions the end is near. |
Conclusion
What a great game! Eventhough it involved quite a bit of reading the rules as we played - and one could sometimes wish for the rules to be more clear and better structured in some aspects - we enjoyed the game immensly. We probably made some mistakes along the way but had fun non the less.
In our view the Chain of Command rules provides a really good "feel" of the uncertainties of combat as you don't know what enemy units that will appear where or when. The patrol phase, the jump off points and deployment method are all very clever game mechanisms. Also, the command dice that dictates your control and command, or fog of war if you like, is tuned just about right. It - together with the use of chain of command dice - gives you many options but not total control. There are many other nice things aswell. For example the sniper rules are excellent and a sniper can, if used right, really render an enemy squad useless. Also, the posibility of enter and fire an infantry AT weapon from a variety of positions on the table is great and gives every tank commander head ache, just as it should. In some other games you can simply avoid your opponents very visible AT capacity with your armour.
Looking at our game the US started off quite cautious and the central US squad got nowhere at first. The central orchard's restricted visibility, we played it as area terrain, dictated much of that part of the battle. The FJ arriving first, and later also occupying the main building on overwatch gained strong positions. After the attack over the hill through the trees got stopped by the sniper the third US attempt finally worked. The US rolled alot of double '6' at the right time and could thereby use their consequtive turns to turn the game around with some proper fire and manouver action. Also, the US 60mm mortar was a constant nuisance for the Germans. In the end the Germans were down to low numbers and could not really stop the last flanking move across the fields without leaving their positions. And as they did they were cut down by US fire power.
Having read many positive reviews of Chain of Command we can now only agree and will definitely come back for more.